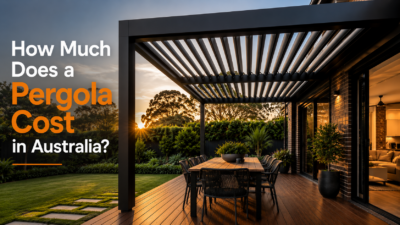
Blog
What Should You Consider Before Attaching a Pergola to a House?
Attaching a pergola to your house might sound like a weekend DIY win, but if you don’t plan it properly, you could end up knee-deep in a rebuild. It’s one of those jobs that looks simple—until you realise your gutter’s in the way, the fascia can’t take the load, and your council wants an application you didn’t submit. From load-bearing concerns to drainage, permits and material selection, this article explores what you really need to consider before attaching a pergola to your home.
Why is attaching a pergola to a house sometimes challenging?
It’s tricky because houses aren’t flat-pack kits, and pergolas aren’t always plug-and-play. Your place might look perfect for one—until you start digging into the roofline or checking levels. Here are the common reasons it’s not as simple as it looks:
- Not all roof edges are pergola-ready. Some don’t have the depth or strength to take bolts—especially newer homes with thin fascia.
- Council stuff gets missed a lot. Even if your mates didn’t need a permit, your block might. Close boundaries? Sloping land? You’re in the grey zone.
- Rain run-off loves to sneak in where you least expect. If you don’t plan for it, water ends up in the wall or dripping where it shouldn’t.
- Winds can pull a poorly fixed pergola apart, especially if you’ve guessed at fastener sizes or spacing.
So yeah—it’s doable. Just not always simple.
How can structural issues arise when a pergola is attached to a house?
Structural problems usually start where the pergola joins the house. People think the fascia or eave is solid—until a few seasons of sun, rain, and wind prove otherwise. Here are the typical ways structural issues can creep in:
- Fascia boards are often just decorative, nailed into rafter tails and never intended to support extra weight.
- Bolts that miss structural timber do nothing, especially if you’re relying on a single fixing point with no support bracing.
- Incorrect fixings or shallow anchor depth can slowly loosen with wind or movement, making the whole thing unstable.
- Thermal expansion matters, particularly with timber. Pergolas shift with temperature and moisture. Rigid attachment without allowances leads to cracks or snapped screws.
You wouldn’t hang a hammock from plasterboard—the same logic applies here. Before attaching anything, figure out what your wall is made of and how it’ll respond long-term.
Could improper planning make attaching a pergola to a house unsafe?
Absolutely. Poor planning turns what could be a sleek outdoor space into a safety risk. When the structure isn’t tied down properly or drainage’s overlooked, the consequences show up fast—and rarely in dry weather. Here are the main planning mistakes that can make things unsafe:
- Not checking the soil type means footings may sink, especially if one side is sandy or near a downpipe.
- Ignoring spacing guidelines or overloading beams creates weak points that can crack or buckle under stress.
- Lack of waterproofing around connection points allows rot to creep in unnoticed, especially near timber cladding.
- Building without approval can backfire, even years later when you go to sell—or when a nosy neighbour reports it.
Instead of flying blind, it pays to consider premium pergola options for functional outdoor spaces that are engineered to meet load standards and often come with documentation you can hand straight to the council.
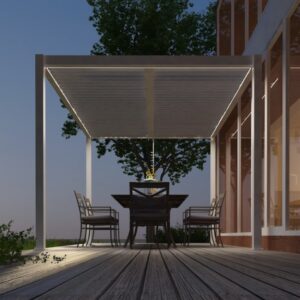
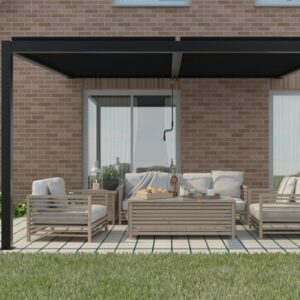
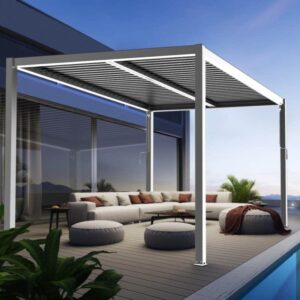
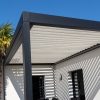
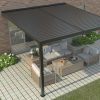
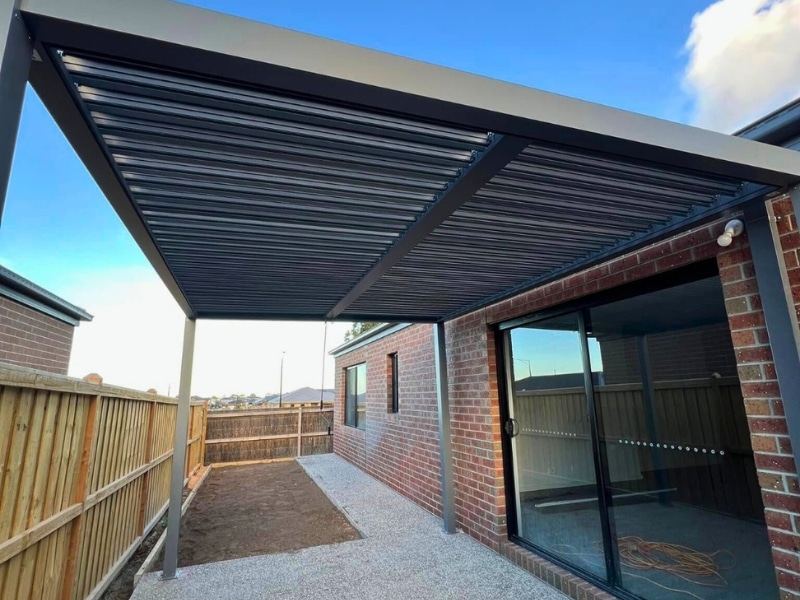
How can material choice improve the stability of an attached pergola?
Materials aren’t just about looks—they determine how much maintenance you’ll need, how well the structure handles weather, and how long it’ll last before something needs replacing. Not all timber is equal, and not all steel is weatherproof. Here are the top material considerations for pergola stability:
- Aluminium is great if you want clean lines and low maintenance, especially in coastal areas where rust is a worry.
- Hardwoods like spotted gum or ironbark are durable, but need sealing and the right screws to avoid splitting or staining.
- Galvanised or powder-coated steel holds up under pressure, ideal for bigger spans or modern flat-roof designs.
- Composite materials can reduce warping and splitting, but vary widely in quality—some look great, others cheap out fast.
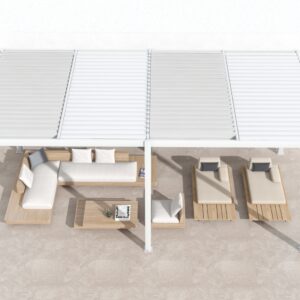
Alongside materials, think about the shape and position. Part of stability comes down to choosing the right pergola size for your yard. Go too big, and it’ll dominate the space. Too small, and you’ll barely use it.
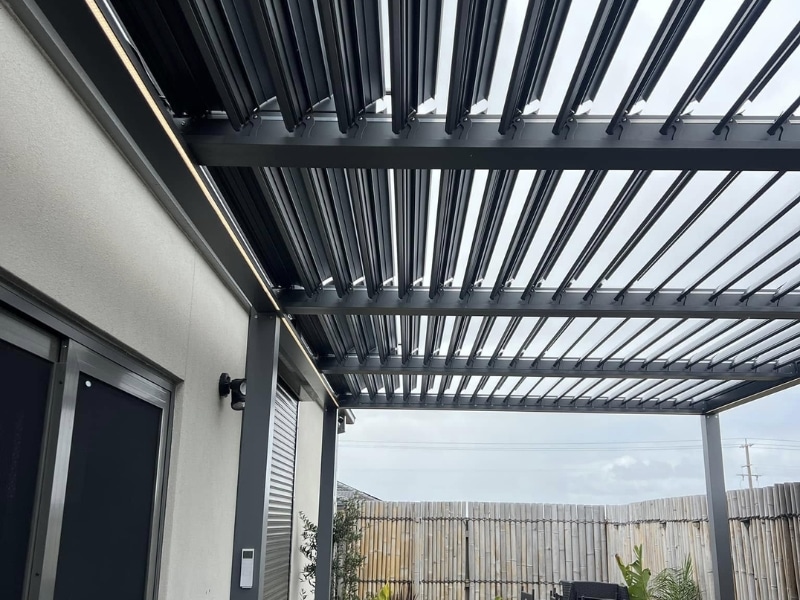
What factors make an attached pergola more energy efficient?
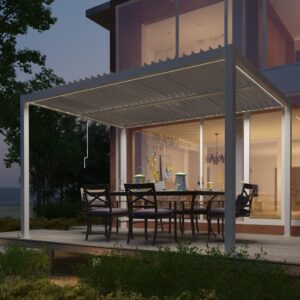
It’s not just shade—it’s how you set it up. If you position and build it right, your pergola can seriously cut down the heat inside the house, too. Here are the energy-smart design choices that make a real difference:
- Face it the right way (usually north) so it shades well in summer but still lets warmth in during winter.
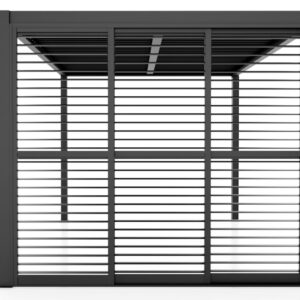
- Louvers or sliding roof panels let you play with light, breeze, and sun throughout the day.
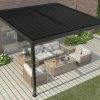
- Go light on the colour. Darker roofs soak up the heat like a black car in summer.
- Leave space for air to move. A pergola that traps hot air is doing the opposite of helping.
| Energy Efficiency Factor | Why It Matters | Best Approach |
| Orientation | Affects how much sun the pergola blocks or lets in | North-facing for balanced shading |
| Roof type | Determines control over sunlight and ventilation | Use louvres or retractable roofs |
| Roof colour | Impacts how much heat is absorbed or reflected | Light colours reflect heat |
| Ventilation and airflow | Prevents hot air from being trapped near the home | Allow gaps or raised roofing |
You’ll get the best results if you follow basic passive design principles like those in understanding shading in sustainable home design. It’s worth a look—even just for orientation tips.
Why is professional pergola installation safer than DIY methods?
DIY builds can work, but they’re not always safe—especially when working at height, cutting into walls, or dealing with fasteners and fixings you’ve never used before. Pros know how to spot red flags early. Here are the reasons to consider hiring a professional installer:
- Qualified installers assess loads, wind zones, and soil type, making sure your structure isn’t just level—but legal.
- They use compliant fixings and spacing, so even after years of use, nothing’s coming loose or cracking.
- They understand drainage and flashing, which stops leaks before they even start.
- You’ll get a warranty—not something you get from a weekend build gone sideways.
Even if you’re going DIY, read up on safe and efficient methods to install a pergola. It’ll help you build smarter—and avoid learning lessons the hard way.
Final thoughts on attaching a pergola safely to your home
A pergola can add loads of value—not just to your home, but to how you use it. More shade, more comfort, more reasons to spend time outside. But only if it’s done properly. Rushed builds or budget shortcuts nearly always cost more later. So slow down, check your structure, and think through drainage, load, and layout before attaching a pergola to your house. If you’d rather skip the guesswork, you can learn how Unique Pergolas tailors pergola options to unique home needs.