Blog

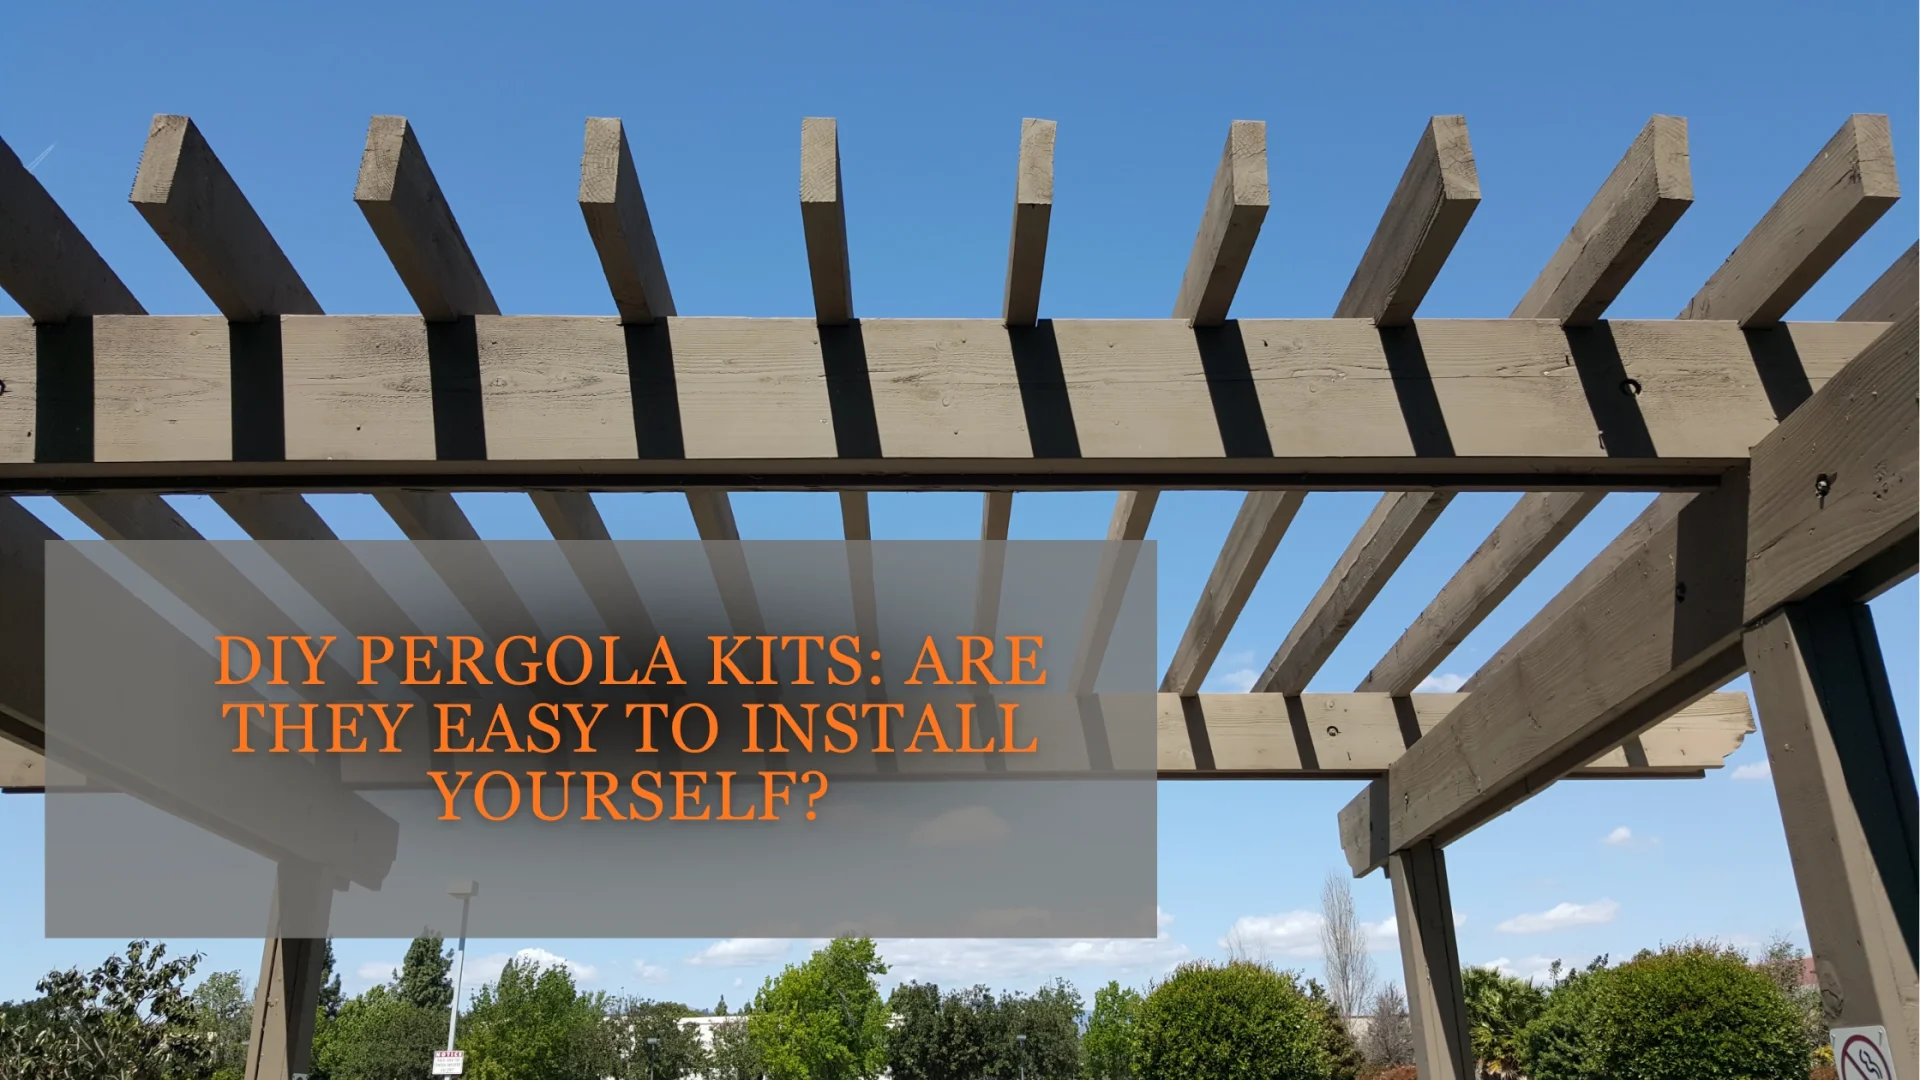
DIY pergola kits are designed to simplify installation by providing pre-cut components, clear instructions, and high-quality hardware. With the right preparation and a few basic tools, most homeowners can build a stylish outdoor entertaining area themselves while saving significantly on installation costs. Their popularity has grown as pre-engineered kits make backyard upgrades achievable for people without trade experience, provided the kit suits the property and skill level.
How Do You Choose the Right DIY Pergola Kit for Your Backyard?
The right pergola kit depends on your available space, how you plan to use the area, and the style that best suits your home. Before comparing products, it helps to walk your backyard and note the sun direction, existing structures, and how much room you actually have to work with.
Key buying considerations include:
- Backyard size and layout
- Freestanding or attached pergola
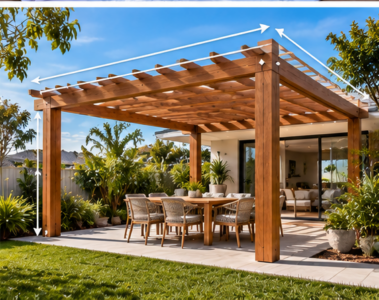
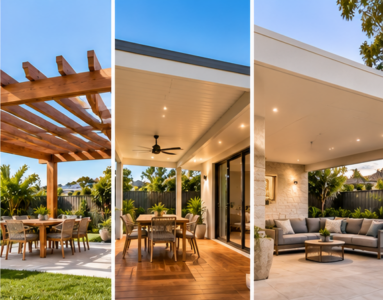
- Aluminium or timber construction
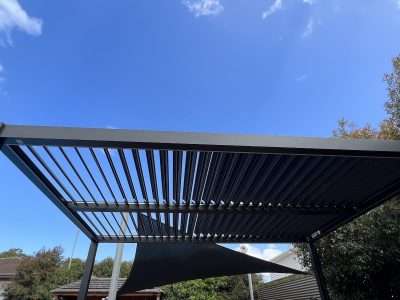
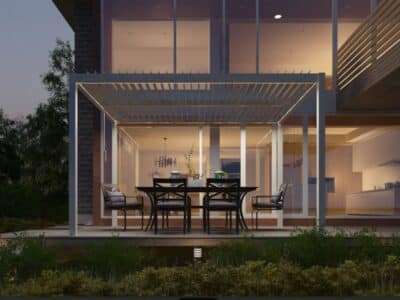
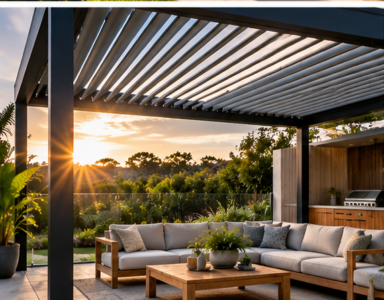
- Roof style (fixed or louvred)
- Local weather conditions
- Budget and future upgrades
Selecting a kit that complements your home’s architecture and outdoor lifestyle makes a real difference to long-term satisfaction. A pergola that looks out of place or too small for the space rarely gets used the way homeowners originally intended.
Aluminium pergola kits have become especially popular for Australian homes because they resist corrosion, require little maintenance, and withstand harsh sun and coastal conditions. If you’re weighing up materials, our earlier guide on aluminium-pergola options covers the durability benefits in more detail. It’s also worth thinking ahead: many homeowners later add screens, lighting, or glass doors, so choosing a kit with room for these upgrades can save money down the track.
What Tools and Materials Do You Need to Install DIY Pergola Kits?
Most DIY pergola kits include all the major structural components, but you’ll still need several common tools on hand before starting the build. Having everything ready before you begin avoids delays once the components are unpacked.
Essential tools typically needed include:
- Cordless drill and drill bits
- Socket and spanner set
- Spirit level
- Tape measure
- Ladder or scaffolding
- Concrete anchors or footings (where required)
Following the manufacturer’s instructions closely, rather than assuming steps based on similar projects, helps ensure the structure is safe and stable once complete. Every kit has slightly different fixing points and tolerances, and skipping steps can compromise the final result.
Checking site levels before you start is one of the most overlooked steps in the process, yet it prevents alignment issues later on. This matters even more for wall-mounted louvred pergolas, where precise alignment with the home’s wall line is essential before any fixing points are drilled. It’s also worth having a second person on hand, since lifting posts and beams into place alone is difficult and increases the risk of injury or misalignment.
How Long Does It Take to Install DIY Pergola Kits?
Installation time varies depending on the pergola’s size, the complexity of the roof design, and the installer’s level of hands-on experience. A small freestanding kit with a fixed roof is usually far quicker to assemble than a larger louvred structure.
Factors that affect installation time include:
- Pergola size
- Roof style
- Site preparation
- Number of installers
- DIY experience
- Weather conditions
Many kits can be assembled comfortably over a weekend, particularly with two people working together. Larger structures or motorised louvred pergolas, which involve electrical wiring and more intricate componentry, often take longer and may benefit from professional assistance for the technical elements. Kits fitted with accessories, such as automatic pull-up screens, also add extra time to the build, since wiring and calibration need to be completed alongside the main structure.
Preparation, including levelling the site and marking out post positions, often takes almost as much time as the actual assembly. Pre-cut components help speed things along considerably, since there’s no need for on-site cutting or shaping, which is one of the main reasons DIY kits appeal to first-time builders.
What Common Mistakes Should You Avoid When Installing DIY Pergola Kits?
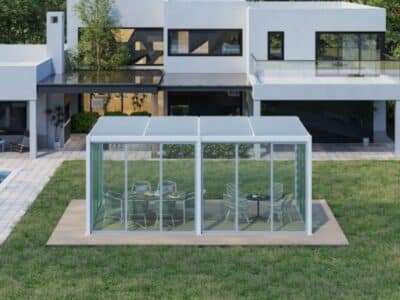
Careful planning at each stage helps prevent common installation problems that can affect the safety, durability, or appearance of the finished pergola. This is particularly true if you’re planning to enclose the space later with pergola-glass-sliding-doors, since getting the frame and footings right now avoids costly rework further down the track. Rushing through preparation is usually where issues begin.
Common mistakes to avoid include:
- Skipping site measurements
- Ignoring manufacturer instructions
- Installing on an uneven surface
- Incorrect footing preparation
- Tightening fixings too early
- Forgetting drainage or roof orientation
Taking the time to get each stage right, rather than rushing to see the structure take shape, results in a stronger and longer-lasting pergola. Small errors early in the build tend to multiply as construction progresses.
Accurate measurements are essential for preventing alignment problems, particularly where posts need to sit square to an existing wall or fence line. Considering sun direction before installation is equally important, since it affects both comfort and whether accessories such as a manual-louvred pergola roof will provide the shade coverage you’re expecting throughout the day.
Are DIY Pergola Kits Worth the Investment Compared to Custom-Built Pergolas?
DIY pergola kits often deliver excellent value, offering many of the same benefits as a professionally installed pergola at a fraction of the cost. Design flexibility is part of that value, since many kits can later be fitted with accessories such as a sliding-door louvred panel to add weather protection without a full rebuild. For homeowners comfortable with basic tools, the savings can be substantial without sacrificing the finished look.
Investment benefits typically include:
- Lower installation costs
- Faster project completion
- Professional-quality appearance
- Flexible design options
- Durable materials
- Increased outdoor living value
Homeowners with basic DIY skills can achieve impressive results while significantly reducing overall project costs compared to a fully custom build.
The gap between DIY and professional installation costs usually comes down to labour, since materials are often of similar quality regardless of who fits them. That said, hiring professional installers may still be worthwhile for larger structures, complex roof lines, or motorised systems like a motorised-louvred pergola, where electrical work and precise calibration benefit from trade experience.
Comparing DIY Pergola Kits and Custom-Built Pergolas
| Factor | DIY Pergola Kit | Custom-Built Pergola |
| Cost | Lower, labour included in savings | Higher, includes design and trade labour |
| Installation time | Typically, a weekend for standard sizes | Often several days to weeks |
| Design flexibility | Good, within kit configurations | Extensive, fully tailored |
| Skill required | Basic to intermediate DIY ability | None, handled by professionals |
| Best suited to | Standard backyards, confident DIYers | Complex sites or bespoke designs |
Conclusion
DIY pergola kits offer a convenient and affordable way to create a functional outdoor living space without sacrificing quality or style. Choosing the right kit, properly preparing the installation site, and following the manufacturer’s instructions carefully all play a part in achieving a result you’ll be happy with for years to come. A well-installed, high-quality kit can enhance both your outdoor living and your property’s overall value.
If you’re ready to get started, it’s worth exploring premium DIY Pergola Kits Australia designed specifically for local conditions, comparing aluminium pergola styles and roof options, and speaking with outdoor living specialists who can help you select the ideal pergola kit for your backyard.
Frequently Asked Questions
What are DIY pergola kits?
DIY pergola kits are pre-engineered pergola packages that include structural components, hardware, and assembly instructions, allowing homeowners to build their own outdoor structure without hiring a builder. They typically come in aluminium or timber and suit a range of backyard sizes. Most kits are designed for straightforward assembly using common household tools, making them accessible for people with basic DIY experience.
Are DIY pergola kits easy to install?
Yes, most DIY pergola kits are designed for straightforward installation, particularly when components arrive pre-cut and pre-drilled. Difficulty depends on the pergola’s size, roof style, and site conditions. Straightforward fixed-roof designs are generally easier, while larger or louvred structures may require more time, a second person, and closer attention to manufacturer instructions.
Do DIY pergola kits come with installation instructions?
Yes, reputable DIY pergola kits include detailed, step-by-step instructions covering footing preparation, frame assembly, and roof installation. Following these instructions closely, rather than relying on assumptions from other projects, helps ensure the structure is stable, safe, and compliant with the manufacturer’s intended design.
What tools are required to assemble a DIY pergola kit?
Common tools include a cordless drill, a socket-and-spanner set, a spirit level, a tape measure, and a ladder or scaffolding for working at height. Some installations also require concrete anchors or footings. Checking the kit’s specific requirements beforehand helps avoid delays once assembly is underway.
Do I need council approval to install a DIY pergola?
It depends on the structure’s size, height, and location, as well as your local council’s regulations. Many freestanding pergolas fall under exempt development, but attached structures or larger builds may require approval. Checking with your local council or referring to the Australian Building Codes Board is recommended before starting construction.